












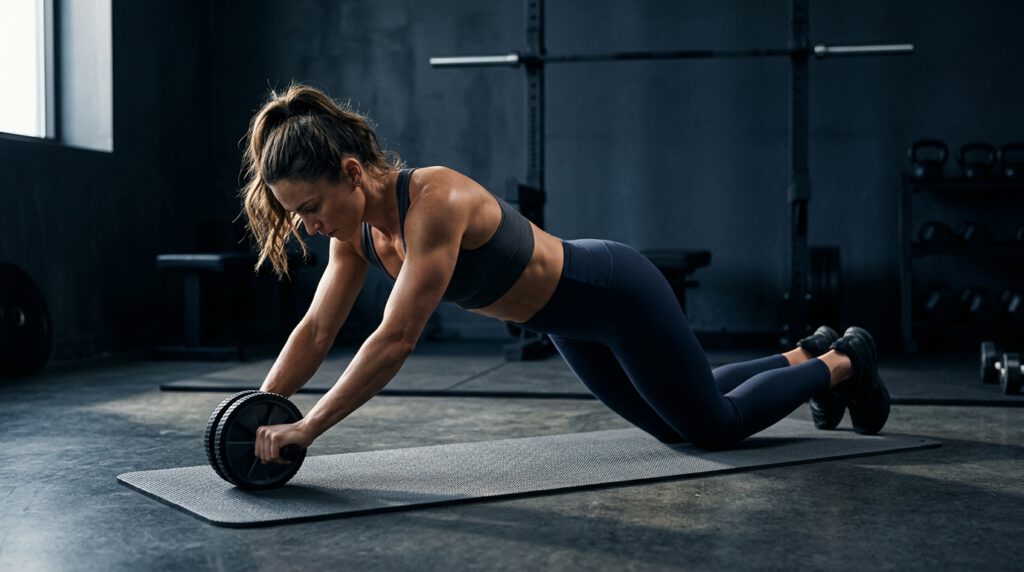
Now Reading: How to Set Up a Home Gym in a Small Apartment (No Extra Room Needed)
-
01
How to Set Up a Home Gym in a Small Apartment (No Extra Room Needed)


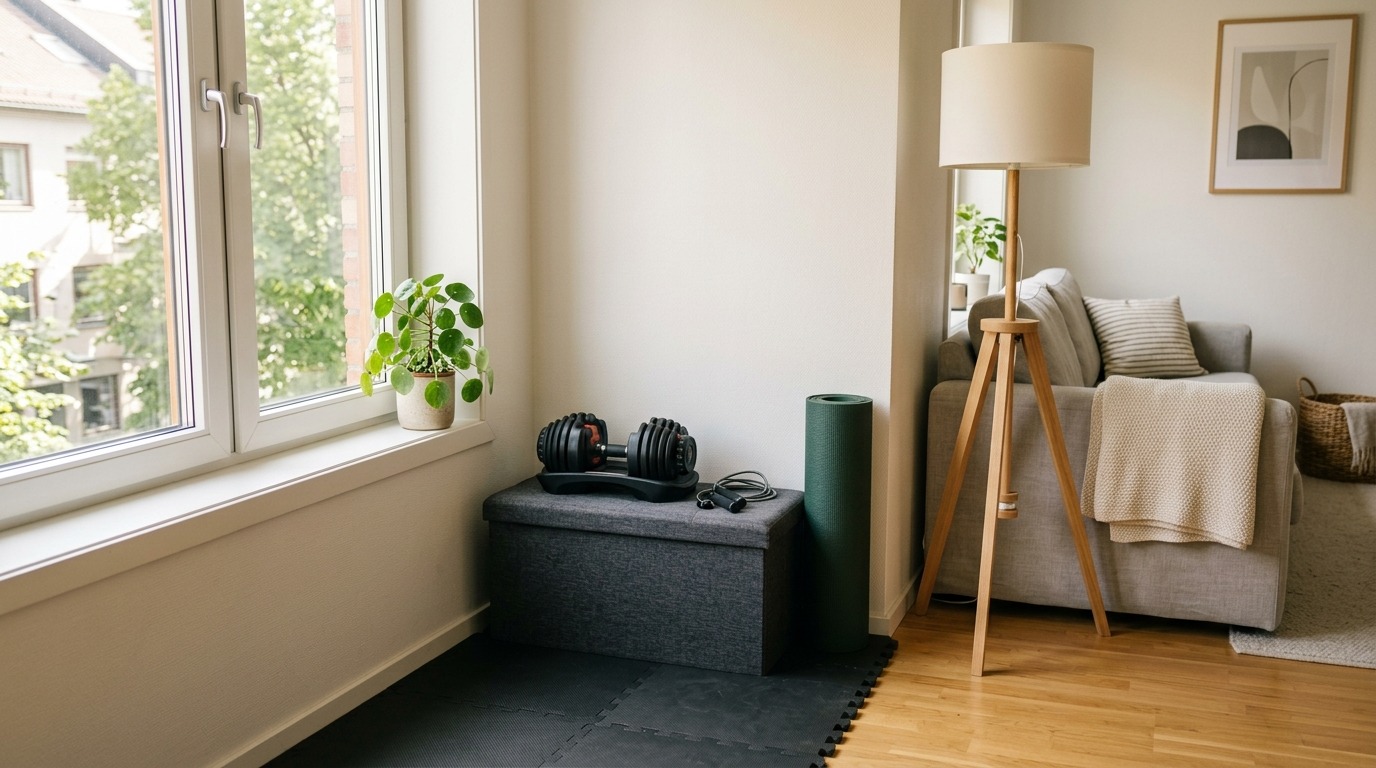
You don’t need a spare bedroom, a garage, or a five-figure budget to build a real home gym. You need about 30–48 square feet of floor space, a handful of equipment that folds, stacks, or slides out of sight, and a system for putting it all away when you’re done.
That’s genuinely it. Below is a complete, apartment-tested plan for building a workout space that lives quietly in your living room, bedroom, or hallway — and disappears the moment you’re finished training.
Table of contents
- Quick Answer
- Step 1: Decide What You’ll Actually Use — Before You Buy Anything
- Step 2: Protect Your Floor and Define Your Workout Zone
- Step 3: Build a Compact Strength Training Kit
- Step 4: Add Conditioning and Core Tools
- Step 5: Solve the Storage Problem First — Not Last
- Step 6: Manage Noise Before Your Neighbors Manage It For You
- Step 7: Check Your Lease Before You Drill or Bolt Anything
- Step 8: Make the Zone Somewhere You Actually Want to Be
- Sample Small-Apartment Layouts by Square Footage
- Budget Breakdown
- Common Mistakes to Avoid
- FAQ
- The Bottom Line
Quick Answer
To set up a home gym in a small apartment: pick a flat 4×6 to 6×8 foot zone (not a dedicated room), protect the floor with interlocking foam or rubber tiles, choose 4–6 pieces of foldable or stackable equipment (adjustable dumbbells, resistance bands, a doorway pull-up bar, an adjustable kettlebell, a folding mat, and a jump rope cover most goals), and store everything in a spot that takes less than 30 seconds to access and put away — a storage ottoman, an over-the-door organizer, or under the bed.
Step 1: Decide What You’ll Actually Use — Before You Buy Anything
The single biggest reason home gyms fail isn’t lack of space. It’s buying equipment for the workout you think you should be doing instead of the one you’ll actually show up for.
Before spending a dollar, answer two questions honestly:
- What kind of training do you enjoy enough to do without motivation? Strength training, HIIT circuits, yoga/Pilates, and boxing all need very different gear.
- How much time do you realistically have per session? A 20-minute apartment gym looks different from a 60-minute one.
If you skip this step, you end up with a stationary bike gathering dust in the corner — a purchase everyone with a small home gym has made at least once. Every piece of equipment in a tight space has to earn its square footage twice: once by getting used, and once by being easy to store.
Step 2: Protect Your Floor and Define Your Workout Zone
You don’t need to convert a room — you need to define a zone. A 4×6 foot area is enough for strength and mobility work; 6×8 feet gives room for jumping jacks, burpees, and mat-based cardio.
Interlocking EVA foam tiles are the standard solution here for three reasons:
- They protect hardwood, laminate, and tile floors from dropped weights and sweat.
- They cushion joints during floor work (push-ups, planks, core exercises).
- They visually mark the workout zone, which makes the space feel intentional rather than like clutter in the middle of your living room.
Most apartment setups use 6–12 tiles (24″×24″ each, ½”–1″ thick) to cover a 24–48 sq ft area. Thicker tiles (¾”–1″) also do double duty as light impact-noise dampening — useful information if you’re on a lower floor (more on that in Step 6).
What to buy: an interlocking EVA foam tile pack rated for home gym use, ½”–1″ thick, with border strips included for a finished edge.
Step 3: Build a Compact Strength Training Kit
This is where multifunctional equipment matters most. Three items realistically replace an entire rack of free weights:
Adjustable dumbbells
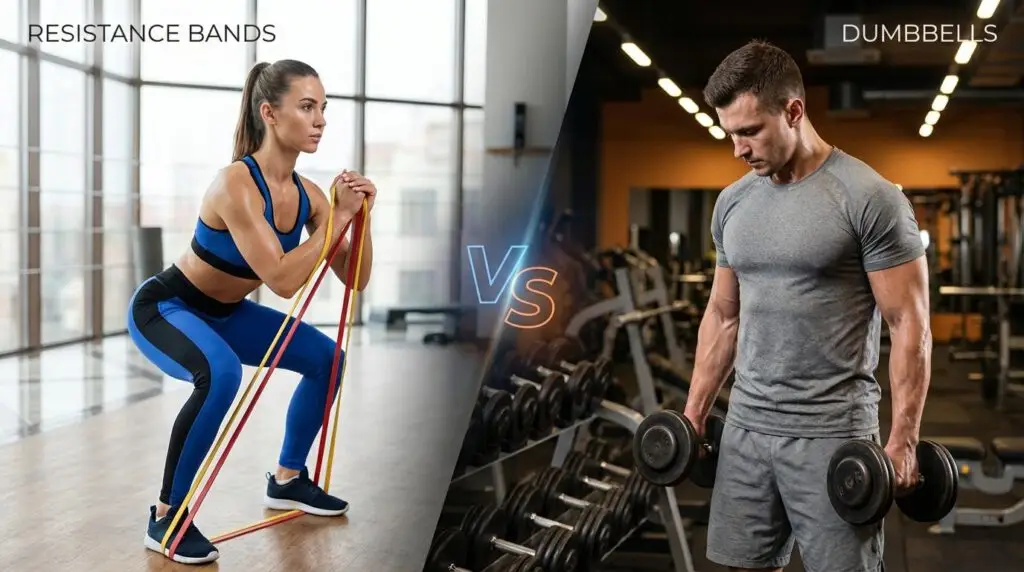
A single pair that dials from roughly 5 to 50+ lbs per hand replaces up to 15 pairs of fixed dumbbells and takes up the footprint of one shoebox. Twist-lock and pin-select designs both work well; twist-lock tends to be quieter, pin-select tends to be faster between sets.
Buying tip: get a range that covers where you’ll be in 12–18 months, not just today — outgrowing a small weight range is the most common regret with adjustable sets.
Resistance bands with handles
A set of tube bands with handles, a door anchor, and ankle straps gives you a genuinely full-body strength session and folds into a drawer or a small basket. Look for double-layer latex construction, since thin single-layer bands snap sooner under regular use.
Doorway pull-up bar
A pressure-mounted (no-drill) bar installs on a standard doorframe in seconds and comes down just as fast — important for rentals, since it leaves no marks. Check your specific doorframe width before buying (most bars fit roughly 24–36 inches), and confirm the frame is solid wood or a load-bearing surface, not hollow trim.
🛒 Recommended Products — Strength Kit
(Swap in your own affiliate links below — product names are real, current 2026 best-sellers in each category.)
| Product | Why it made the list | Link |
|---|---|---|
| Bowflex SelectTech 552/840 Adjustable Dumbbells | Twist-dial, 5–52.5 lb range, replaces 15 sets | 🔗 Bowflex SelectTech 552/840 Adjustable Dumbbells |
| PowerBlock Sport / Elite EXP Adjustable Dumbbells | Compact block design, very small footprint, magnetic pin selector | 🔗 PowerBlock Sport / Elite EXP Adjustable Dumbbells |
| Whatafit or Bodylastics Resistance Bands Set (with handles, door anchor, carry bag) | Best-value full-body band kit, stores in a drawer | 🔗 Whatafit or Bodylastics Resistance Bands Set |
| Iron Gym Total Upper Body Workout Bar (or Sportneer no-drill bar) | No-drill doorway mount, multiple grip positions | 🔗 Iron Gym Total Upper Body Workout Bar |
Step 4: Add Conditioning and Core Tools
Once strength basics are covered, three small additions round out a complete routine:
- Adjustable kettlebell — a single bell that shifts between roughly 8–40 lbs handles swings, goblet squats, carries, and presses without a rack of separate bells taking up floor space. Dial-based (turn-and-lock) systems tend to be faster between exercises than internal-plate designs.
- Folding exercise mat — thicker and more cushioned than a yoga mat, this is what you’ll actually use for core work, stretching, and any floor-based HIIT. It folds flat and slides under a bed or couch.
- Jump rope — the highest cardio-return-per-square-inch of anything you can own. Zero storage footprint; hang it on a hook.
🛒 Recommended Products — Conditioning Kit
| Product | Why it made the list | Link |
|---|---|---|
| Bowflex SelectTech 840 Adjustable Kettlebell | 8–40 lb dial system, replaces 6 kettlebells | 🔗 Bowflex SelectTech 840 Adjustable Kettlebell |
| PowerBlock Adjustable Kettlebell | Compact block shape, very fast changes | 🔗 PowerBlock Adjustable Kettlebell |
| ProsourceFit or Gaiam Folding Exercise Mat | Slides under furniture, cushions joints | 🔗 ProsourceFit or Gaiam Folding Exercise Mat |
| Weighted speed rope (any reputable brand) | Zero storage, high-intensity cardio | 🔗 Weighted speed rope (any reputable brand) |
Step 5: Solve the Storage Problem First — Not Last
Most apartment gyms don’t fail during the workout. They fail afterward, when the equipment has nowhere obvious to go.
If a piece of gear is inconvenient to put away, it stays out. Once it’s out, it starts to read as clutter instead of equipment — and clutter gets sold on Facebook Marketplace within a year. Choose storage before you choose equipment, and make sure everything has a home that takes under 30 seconds to use.
Three storage systems apartment dwellers rely on:
- Over-the-door organizer — holds bands, jump ropes, and small accessories off the floor, using a door you already have.
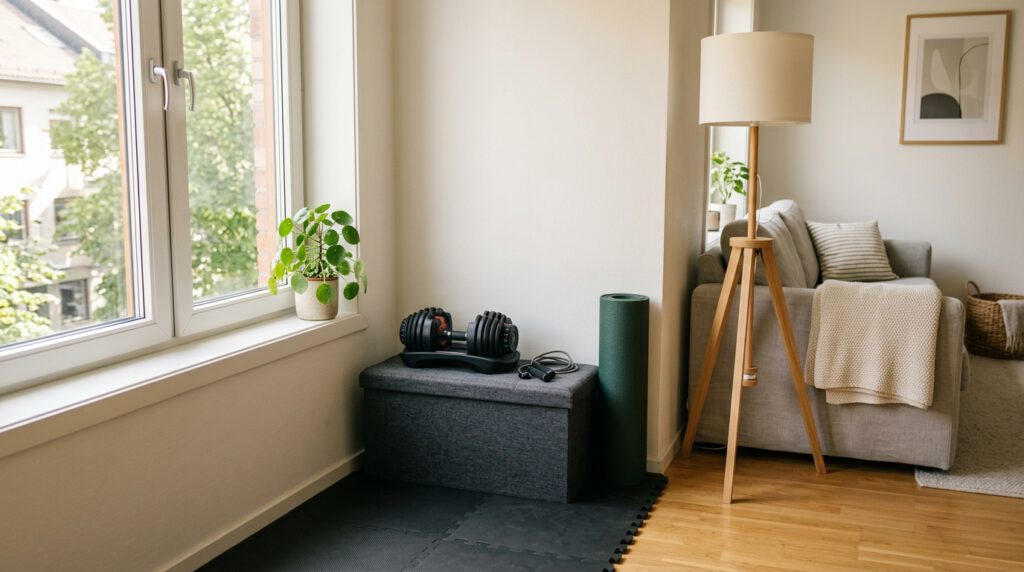
- Storage ottoman — doubles as living room seating or a coffee table while hiding dumbbells, a kettlebell, or bands inside. This is the single best trick for keeping a gym invisible in a shared living space.
- Under-bed storage — flat items (folded mats, resistance bands, tiles) slide under a bed frame with zero visual footprint.
🛒 Recommended Products — Storage
| Product | Why it made the list | Link |
|---|---|---|
| Over-the-door mesh/hook organizer | Uses existing door, zero floor space | 🔗 Over-the-door mesh/hook organizer |
| Storage ottoman (fabric or faux leather, hinged lid) | Furniture by day, gear closet by workout time | 🔗 Storage ottoman |
| Low-profile under-bed storage bin | Hides mats, bands, and tiles completely | 🔗 Low-profile under-bed storage bin |
Step 6: Manage Noise Before Your Neighbors Manage It For You
This is the part most small-apartment gym guides skip — and it’s often the actual reason setups get shut down, not lack of space.
There are two kinds of noise to plan for:
- Impact noise — dropped weights, jumping, footfalls — which travels through the floor to anyone below you.
- Airborne noise — music, machine hums, heavy breathing during a hard set — which travels through walls.
A few habits solve most of this:
- Never drop weights. Lower dumbbells and kettlebells to the floor under control instead of dropping them — this alone eliminates most impact complaints.
- Use thicker flooring where you can. ¾”–1″ EVA foam or rubber tiles absorb meaningfully more impact noise than thin yoga-mat-style flooring.
- Favor low-impact movement patterns (controlled strength work, banded exercises, kettlebell flows) over repetitive jumping if you’re on a floor above other units.
- Keep consistent hours. Neighbors adapt quickly to a predictable 7 a.m. or 6 p.m. routine; irregular late-night or early-morning sessions are what generate complaints.
- Introduce yourself. A short, friendly heads-up to the neighbor below goes further than any amount of flooring.
Step 7: Check Your Lease Before You Drill or Bolt Anything
Most standard apartment leases restrict permanent modifications, not fitness equipment itself. In practice:
- Doorway pull-up bars, foam tiles, dumbbells, bands, and kettlebells are almost always fine — nothing is attached to the structure.
- Wall-mounted pull-up bars, squat racks, or anything requiring drilling usually needs written landlord approval.
- If your lease is vague, a quick written message to your landlord confirming “compact, non-permanent fitness equipment” avoids any ambiguity later.
Step 8: Make the Zone Somewhere You Actually Want to Be
A dim corner next to a laundry pile isn’t a space that pulls you toward a workout — and this is the detail most equipment-focused guides skip entirely. A few small additions make a disproportionate difference:
- A warm floor lamp instead of harsh overhead lighting
- A small speaker for music or a class
- One plant or a candle nearby, so the corner reads as intentional rather than incidental
None of this costs much or takes any floor space. It just needs five minutes of setup before your first session — and it’s often the difference between a gym you use daily and one you use twice.
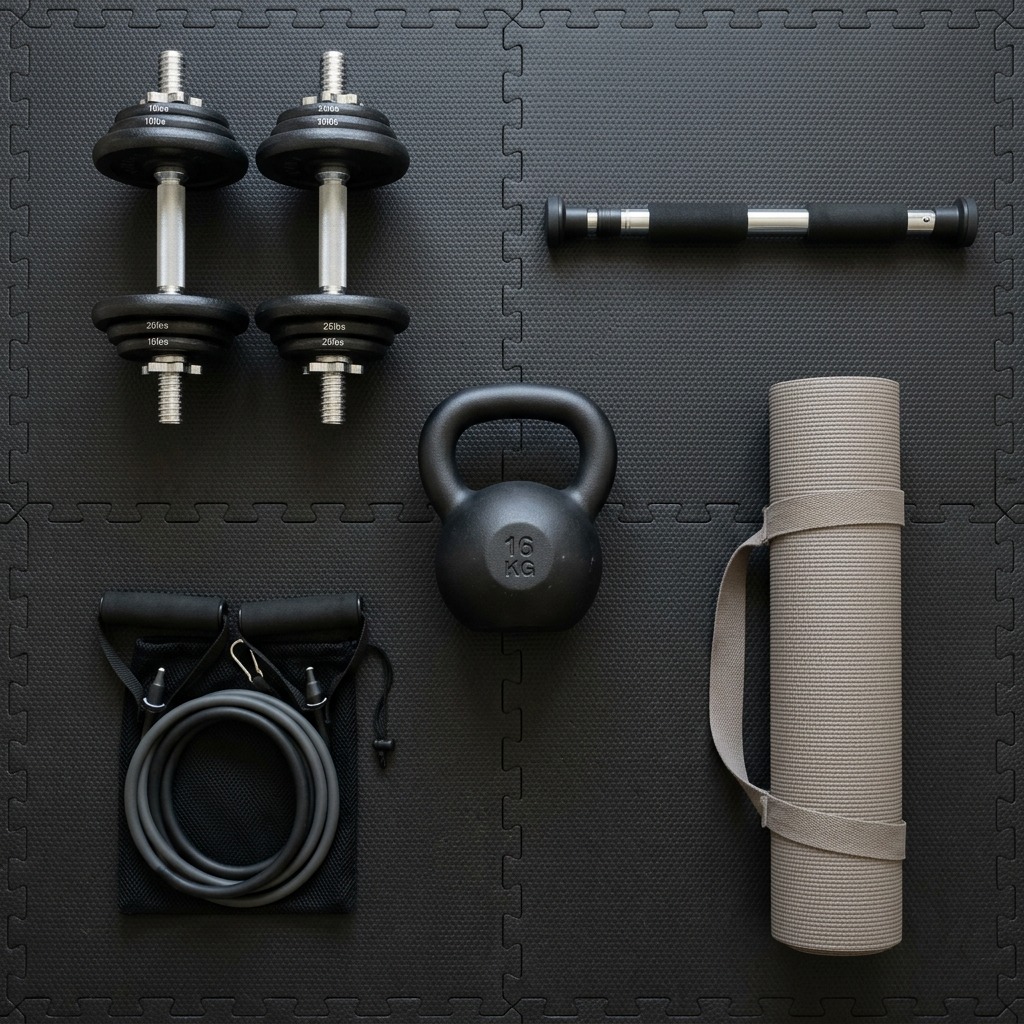
Sample Small-Apartment Layouts by Square Footage
Under 24 sq ft (a hallway or bedroom corner): Resistance bands, adjustable dumbbells, a folding mat, a jump rope, a doorway pull-up bar. Everything stores in a basket and behind a door.
24–48 sq ft (a cleared living room zone): Add an adjustable kettlebell and full foam tile flooring. Store the dumbbells and kettlebell inside a storage ottoman that doubles as a side table.
48+ sq ft (a dedicated corner or small spare room): Everything above, plus a foldable exercise bench that stands upright against a wall when not in use, and an over-the-door organizer for accessories.
Budget Breakdown
| Tier | What’s included | Approximate cost |
|---|---|---|
| Starter | Resistance bands, jump rope, doorway pull-up bar, folding mat | $60–$120 |
| Core setup | Above + adjustable dumbbells + foam tiles | $250–$450 |
| Full compact gym | Above + adjustable kettlebell + storage ottoman + over-door organizer | $450–$750 |
Prices vary by brand and sale timing — adjustable dumbbells and kettlebells in particular see frequent seasonal discounts (Prime Day, January, Black Friday), so timing a purchase around those windows can meaningfully cut the “core setup” and “full compact gym” totals above.
Common Mistakes to Avoid
- Buying based on what “sounds” fitness-y (a treadmill, a stationary bike) instead of what you’ll actually do consistently.
- Skipping floor protection and damaging a rental’s flooring or a shared building’s ceiling below.
- Choosing equipment before choosing storage — always confirm where something lives before you buy it.
- Ignoring noise until a neighbor complains — flooring and workout timing are far easier to plan in advance than to fix after a conflict.
- Treating the space as a permanent gym room instead of a zone that reverts to normal apartment life when you’re done.
FAQ
Do I need a separate room for a home gym?
No. A clear 4×6 to 8×8 foot floor zone — a corner of a living room, bedroom, or hallway — is enough for a complete strength and conditioning routine, as long as the equipment folds or stores away afterward.
Will my downstairs neighbors hear my workouts?
Some noise is likely with high-impact movement, but thick foam or rubber flooring, controlled (non-dropped) weight handling, and consistent workout hours reduce complaints significantly.
What’s the best flooring for an apartment home gym?
Interlocking EVA foam tiles, ½” to 1″ thick, are the standard choice — they protect the floor, cushion joints, and provide modest impact-noise reduction for a low cost.
How much does a small-apartment home gym cost to set up?
A functional setup starts around $60–$120 for bands, a mat, and a pull-up bar, and a fuller kit with adjustable dumbbells, a kettlebell, tiles, and storage typically runs $450–$750.
Can I have gym equipment in a rental apartment?
Yes, in almost all cases — non-permanent equipment (dumbbells, bands, foam tiles, pressure-mounted pull-up bars) doesn’t require landlord approval. Anything that needs drilling or wall-mounting usually does.
The Bottom Line
A home gym in a small apartment isn’t a scaled-down version of a commercial gym — it’s a different kind of system, built around equipment that earns its space by being used and by disappearing when it’s not.
Get clear on what you’ll actually do, invest in a handful of multifunctional pieces, solve storage before you buy anything, and give the space a reason to feel good to be in. That’s a setup you’ll still be using a year from now.
Related Posts
Stay Informed With the Latest & Most Important News
Previous Post
Next Post









Advertisement